
Our goal is our own blog, independent of the will of LiveJournal, Blogger and other Medium owners. This small instruction will let you start a blogging setup in a few minutes and get:
- a pleasant way to write articles
- a decent blog appearance
- the ability to show individuality with choice of design
- be ready for a popularity surge and survive under practically any load
In addition, for those who want to dig deeper:
- Ability to publish the blog to S3, Google Nearline or any similar place
- Automatically save copies of all your posts in the very universal markdown format
Here’s a brief description of what we’ll do:
- set up a docker droplet on digital ocean
- get everything we need there from my repository
- prepare the droplet for deploying containers
- build and launch this whole setup
Raising a droplet
First thing is to get yourself an account on DigitalOcean. This can (and should ;) be done via my referral link or directly from their site. The price is $5/month. For this money you get 1TB of traffic per month, which in practice is more than enough. In principle, even a quarter of this is enough for a normal person per month, which means you can team up with friends/colleagues and use a shared VPN droplet for a whole group of comrades. And also on the web you can find quite legal promo codes for discounts and gifts, for example we have one on Radio-T for $10, which is enough for a whole 2 months of our VPN operation.
Next we launch a new droplet by clicking the green “CREATE”. Give it some name (any) to your taste. I, for example, gave mine “ghost-buster-test”. Choose (in “Select Size”) 512MB/1CPU, and in “Select Region” the place where you want to locate your VPN. If you don’t care about access to resources that only work from the US, then it’s most reasonable to choose a region close to you (Amsterdam or London for residents of the former USSR).

Next in the “Select Image” section go to “Applications” and there select “Docker 1.8.1 on Ubuntu”
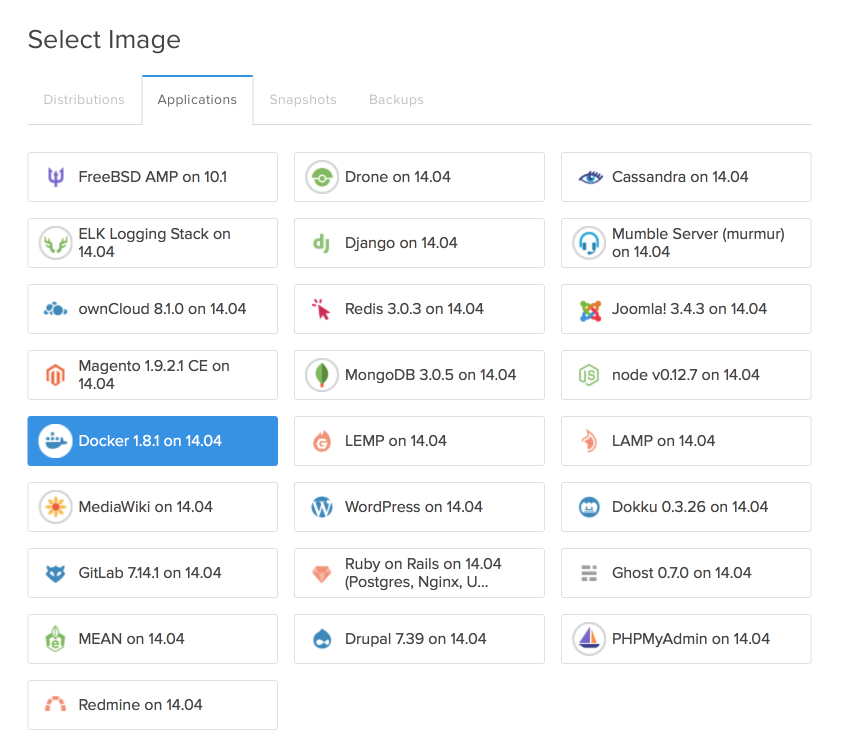
After that click “Create Droplet” and wait a minute (sometimes a bit more) while it creates.
Preliminary setup
Get docker-compose and install on our droplet:
curl -L https://github.com/docker/compose/releases/download/1.4.0/docker-compose-'uname -s'-'uname -m' > /usr/local/bin/docker-compose
chmod +x /usr/local/bin/docker-compose`
Add swap (needed for building containers):
fallocate -l 2G /swapfile && chmod 600 /swapfile && mkswap /swapfile && swapon /swapfile
Get from my repository:
cd /srv
git clone https://github.com/umputun/ghost-buster-docker.git
and the preliminary setup is complete. You’ll agree, not so scary? And we’ve already passed the most difficult part of the process.
Configure and launch the blog
Entering the directory with our ghost-buster (cd /srv/ghost-buster-docker) we’ll find the file docker-compose.yml there which needs to be changed a bit for your blog. Do nano /srv/ghost-buster-docker/docker-compose.yml find there - BLOG_DOMAIN=http://p.umputun.com and change my domain to yours. Yes, and important that you leave the beginning with http://. That is, if your blog will live at myblog.blah.ru then you should have - BLOG_DOMAIN=http://myblog.blah.ru
Save the file (F2, Y) and exit (ESC)
First launch
Now we’ll launch everything needed. If you’re interested in details, check the repository, and for everyone else — we’ll launch 2 containers:
- ghost-buster - this is the blog engine itself plus automatic generation of static pages
- ghost-nginx - web server for static content and proxy server for blog management.
Done like this:
cd /srv/ghost-buster-docker
docker-compose up -d
Executing docker-compose will take several minutes showing minimal signs of life. Don’t worry, it will do everything needed and exit.
Create a user and start writing masterpieces.
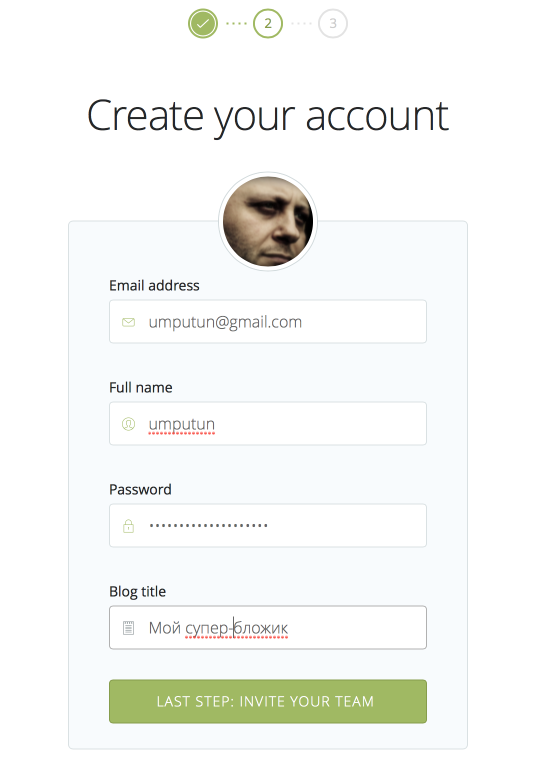
By this point you should have a working blog, but it’s not visible yet. To make things good, you need to go to address/ghost (in my case it was http://162.243.228.100/ghost) and ghost will ask to create a user.
After completing this simple process, at http://
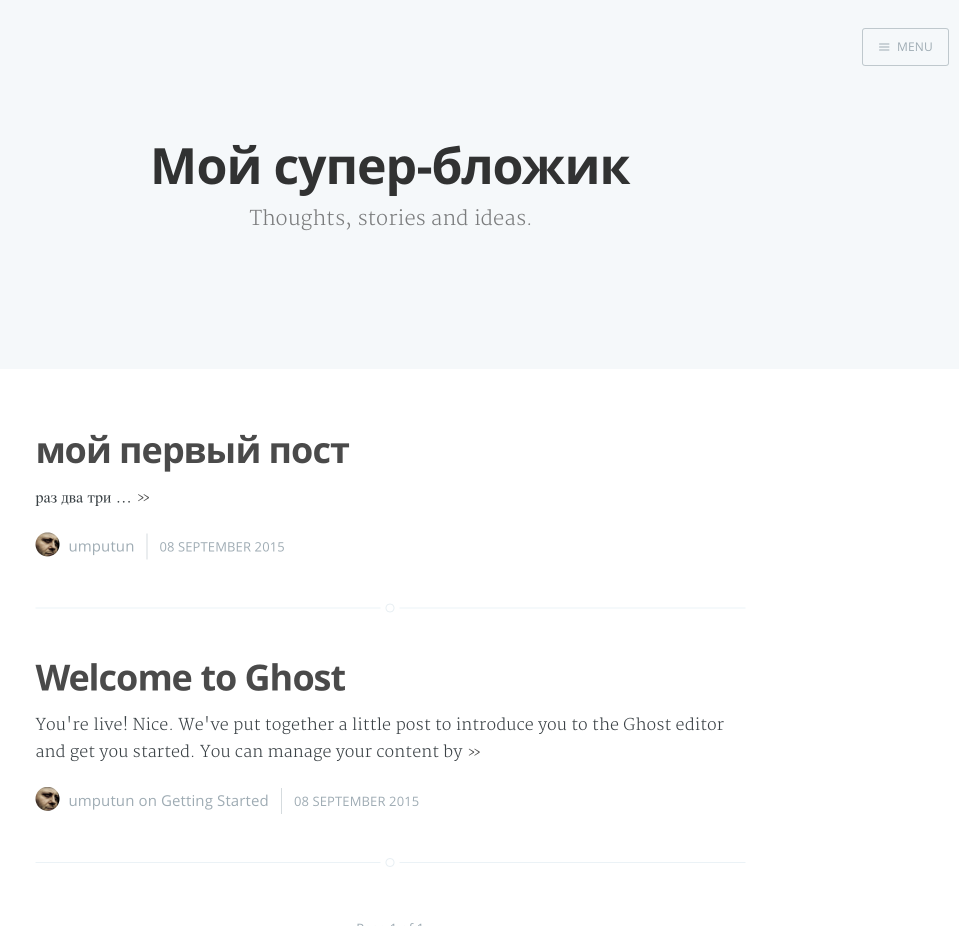 To return to the admin part, where you’ll write, edit and configure, add /ghost to the address, and you’re there.
How to add design themes
On the internet spaces you can find many different design themes for ghost. To make them appear in your blog, they need to be put in /srv/ghost-buster-docker/data/content/themes. Here’s how, for example, I’ll add the crisp theme
mkdir -p /srv/ghost-buster/data/content/themes
cd /srv/ghost-buster/data/content
git clone https://github.com/kathyqian/crisp-ghost-theme.git
Additional information
- After each change to blog content, all documents are automatically published to /static and nginx serves them.
- Each change generates all posts in md format. They’ll be in
/srv/ghost-buster/export.mdand their creation purpose is just in case. - After rebooting the droplet, everything should come up by itself
- Blog data, articles and settings are stored outside the container, right on the droplet in
/srv/ghost-buster/data. If you make a backup, it’s enough to copy only this directory. - If necessary, you can add static content publication to any external place of your choice. Everything in build/ghost-buster/publish.sh
This post was translated from the Russian original with AI assistance and reviewed by a human.